This entry features the procedural landscape material I made while following the UE5: Step-by-Step Landscape Material course on YouTube, which includes over 11 hours of instruction by UnrealityBites.
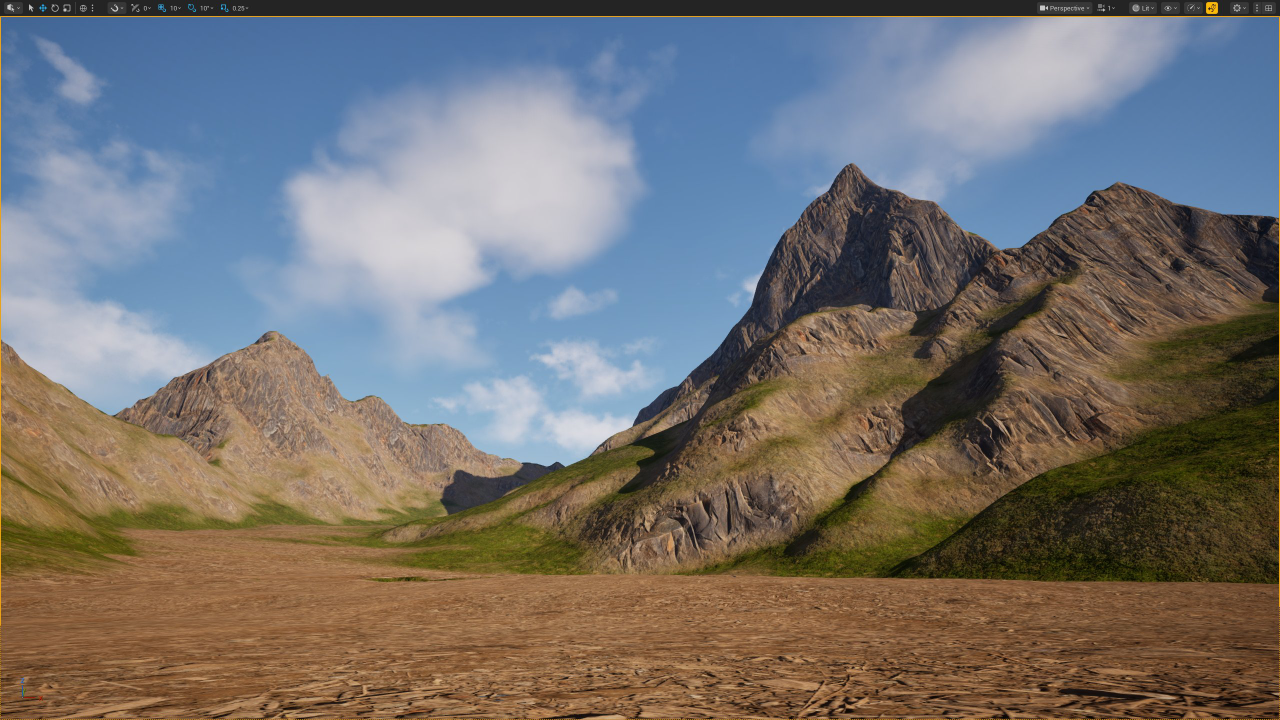
First, a heightmap was used to generate the landscape before creating a basic material using the terrain's slope to mask between several different base materials — namely ground, mid-low (grass), mid-high (rocks), and cliffs.
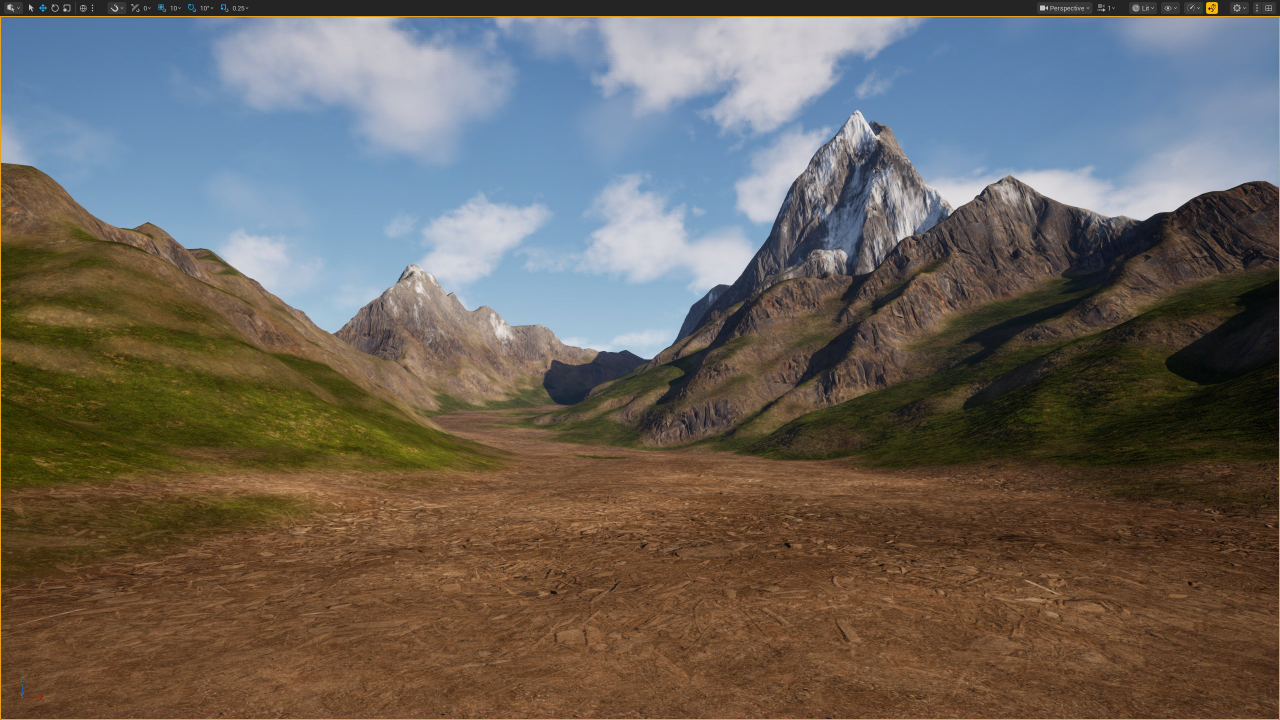
Next, an elevation dependent snow layer was added, followed by variation in the ground material by way of texture tiling and colour variation. Tiling varies by rotation and scaling and is dependent on camera distance.
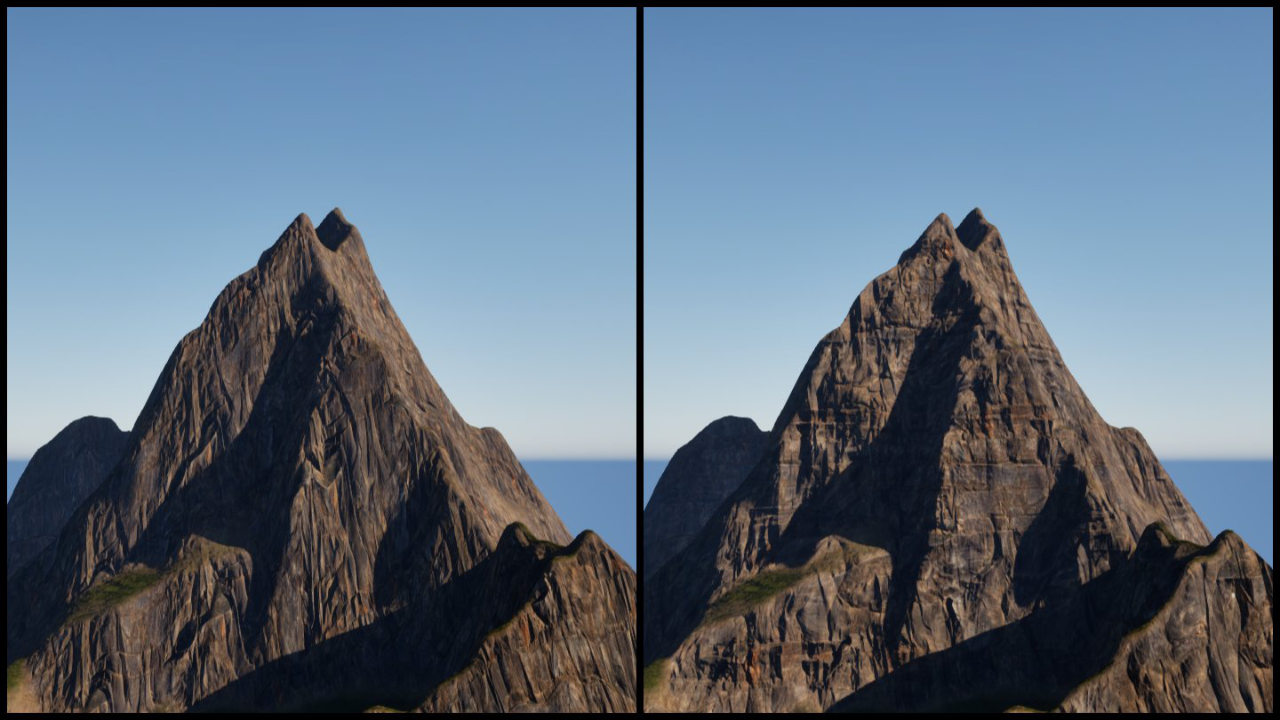
Triplanar projection mapping was added to the cliff material, which reduces texture skew, but at a cost of three times the number of texture lookups (i.e. one per axis).
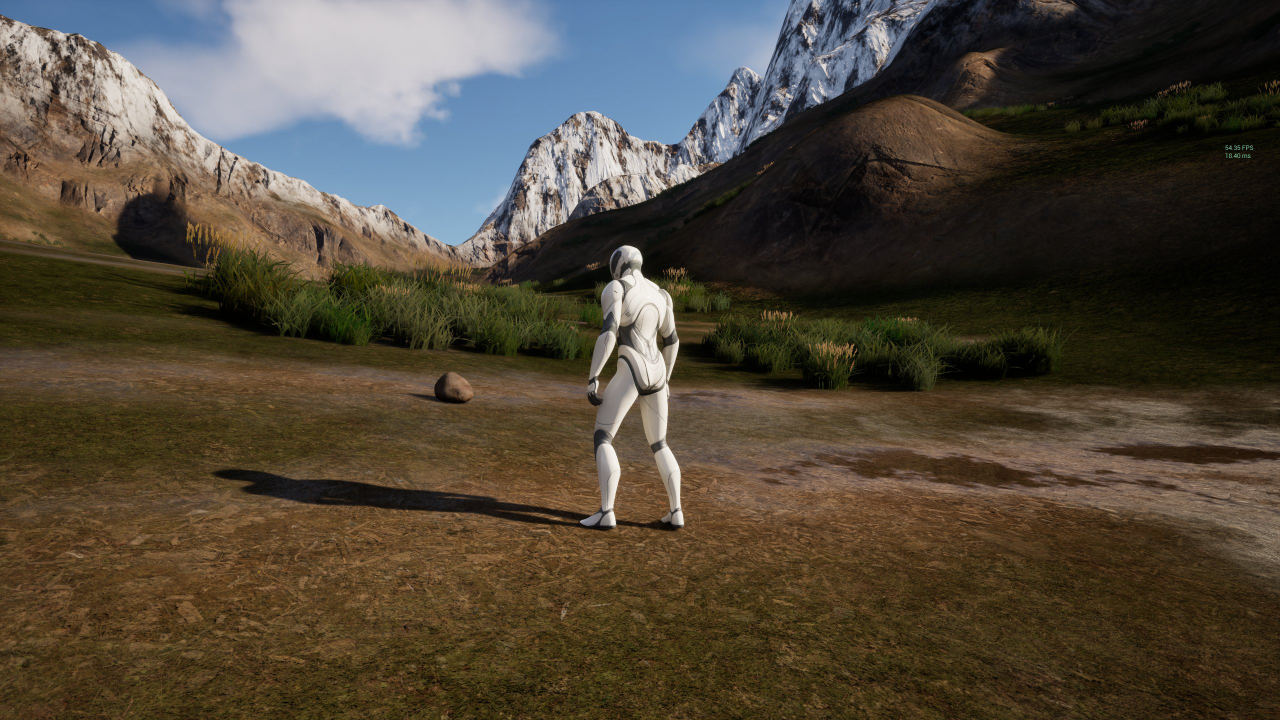
Puddles were added to the ground layer using a noise texture for masking, then setting the specularity to 1.0 and the normal to the positive z-axis for regions with puddles. PCG was also set up for procedural placement of rocks and foliage within the grass layer.
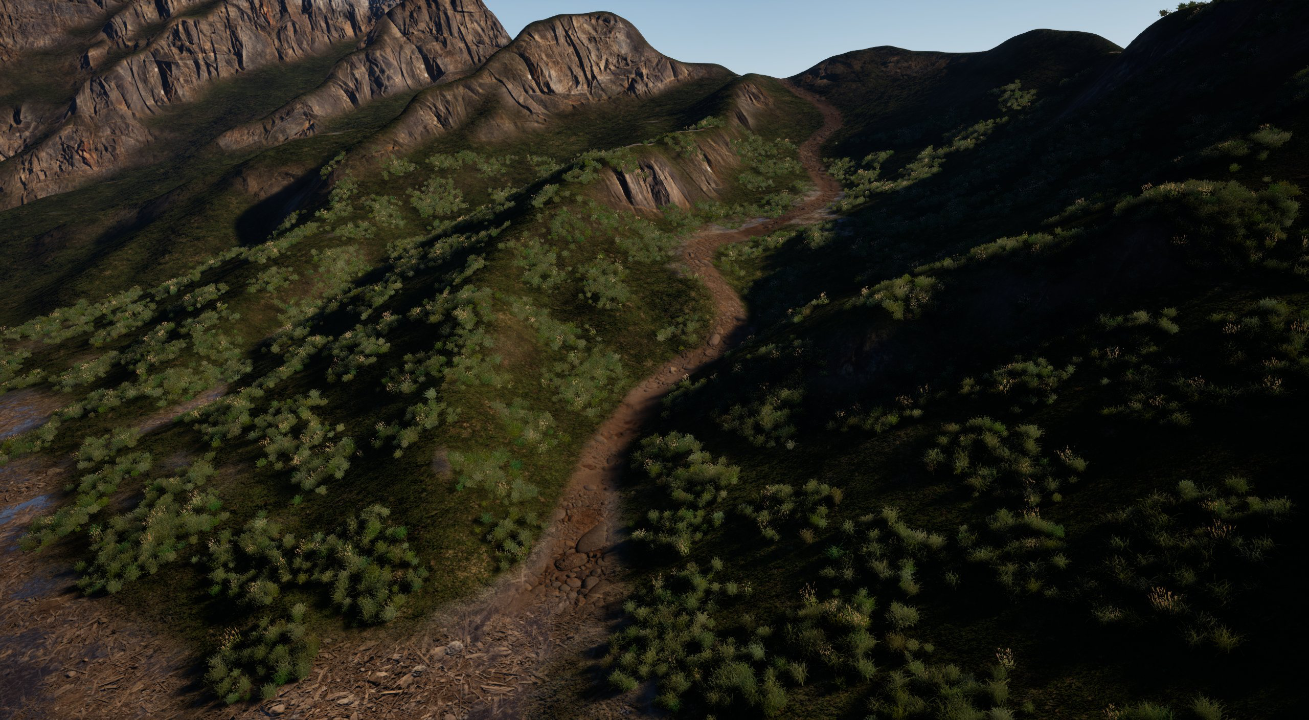
A landscape paint layer was set up for manually painting footpaths. This layer was then used to filter out PCG content within the painted regions.
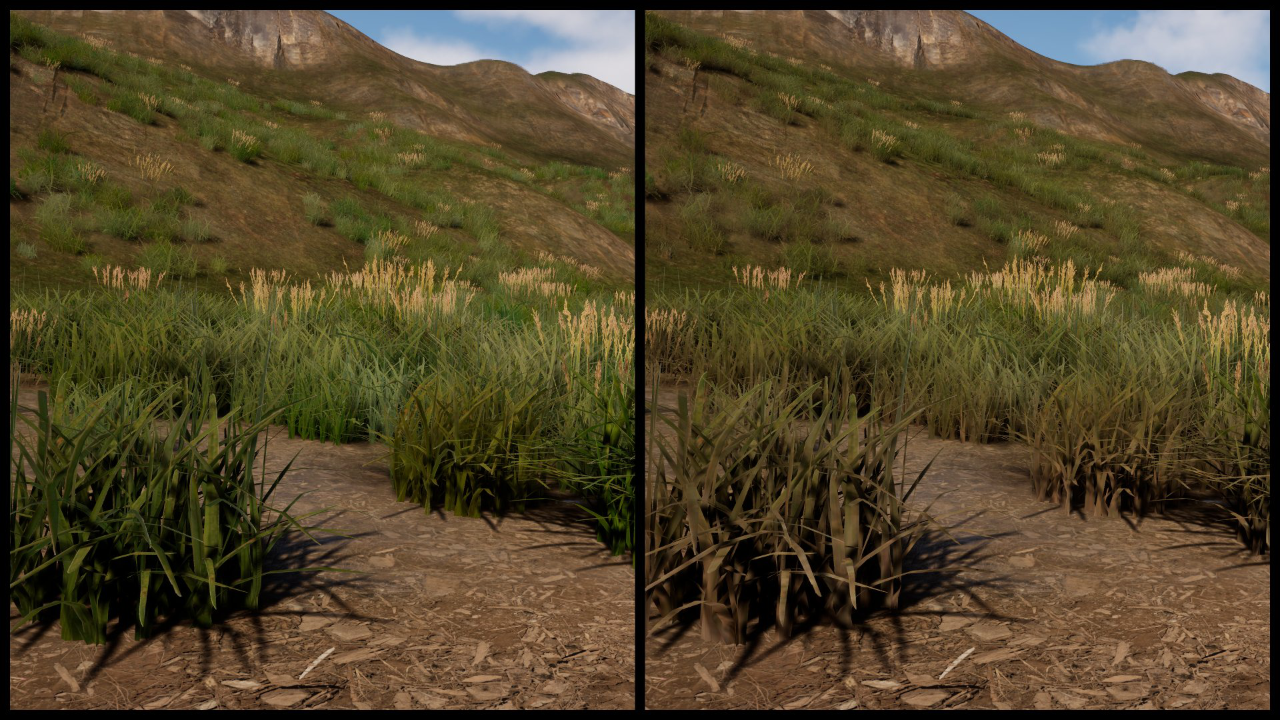
A runtime virtual texture was set up for projecting the ground texture onto. The RVT was then used to blend between the ground and foliage colour.
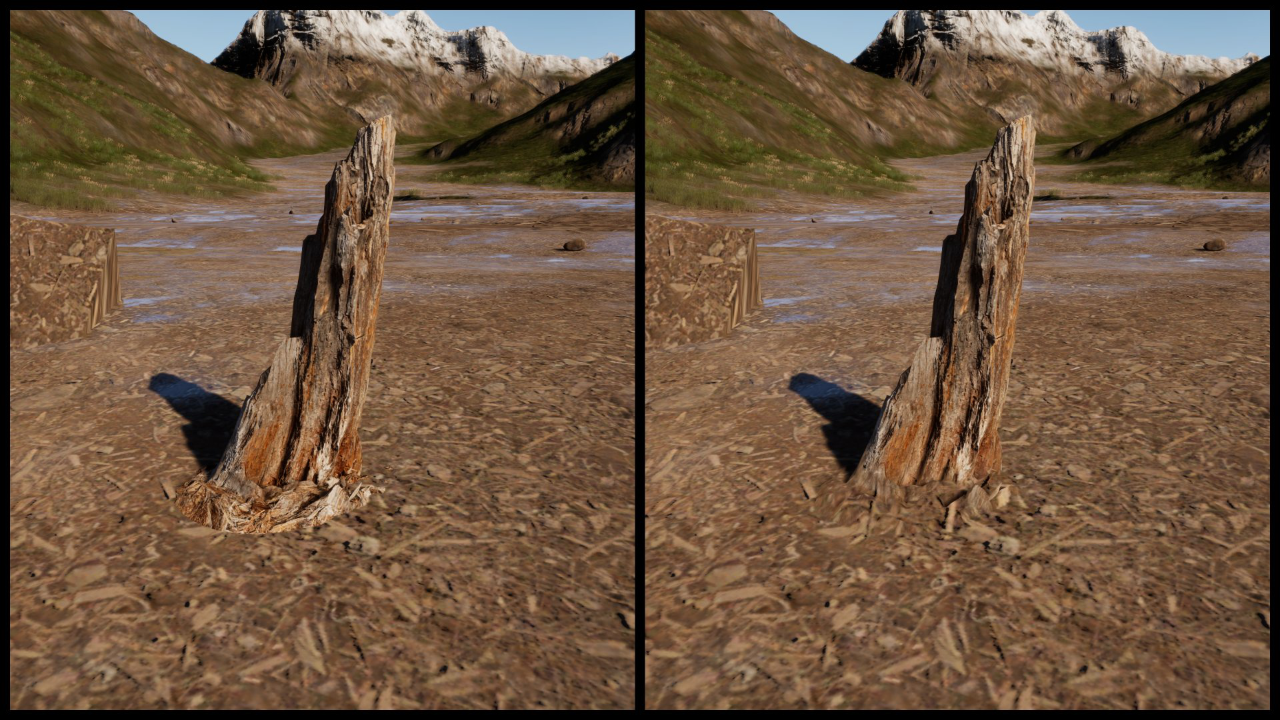
RVT blending was then improved by adding normal blending, including the option to toggle between projected and world space normals.
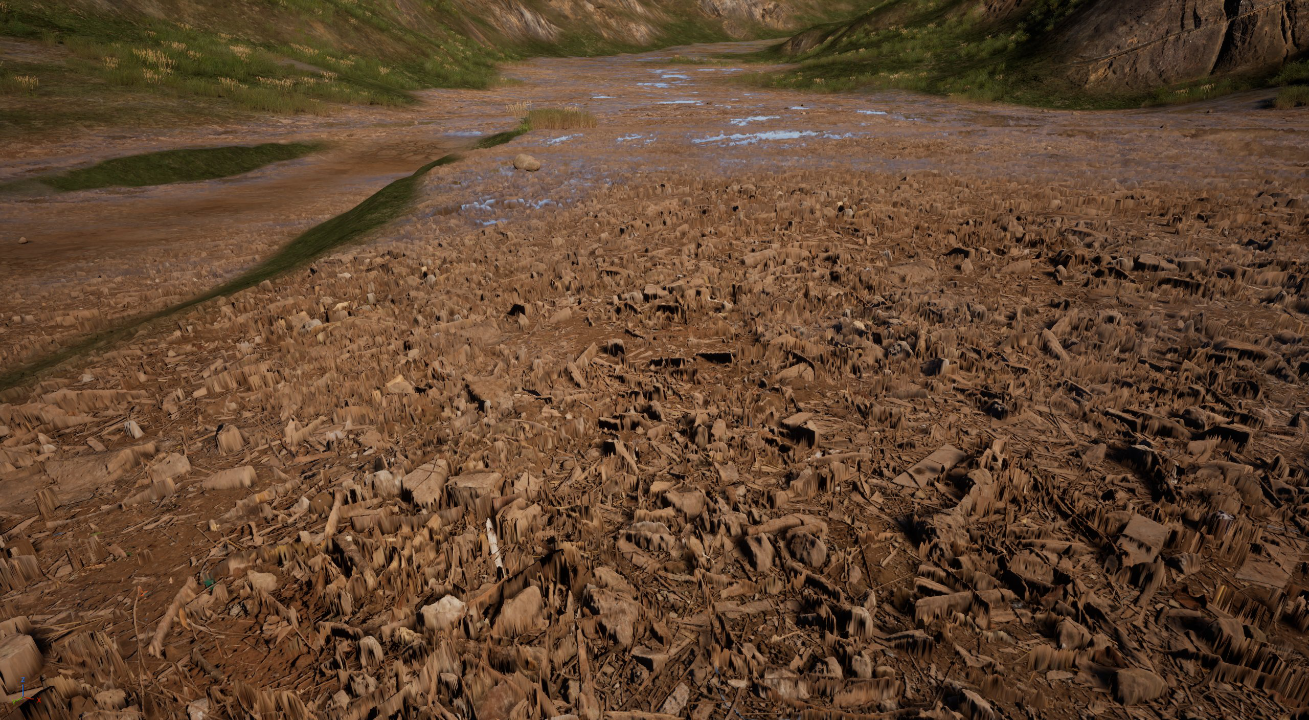
Nanite height displacement was added to improve ground texture, although the required processing overhead outweighed the benefits in my opinion.
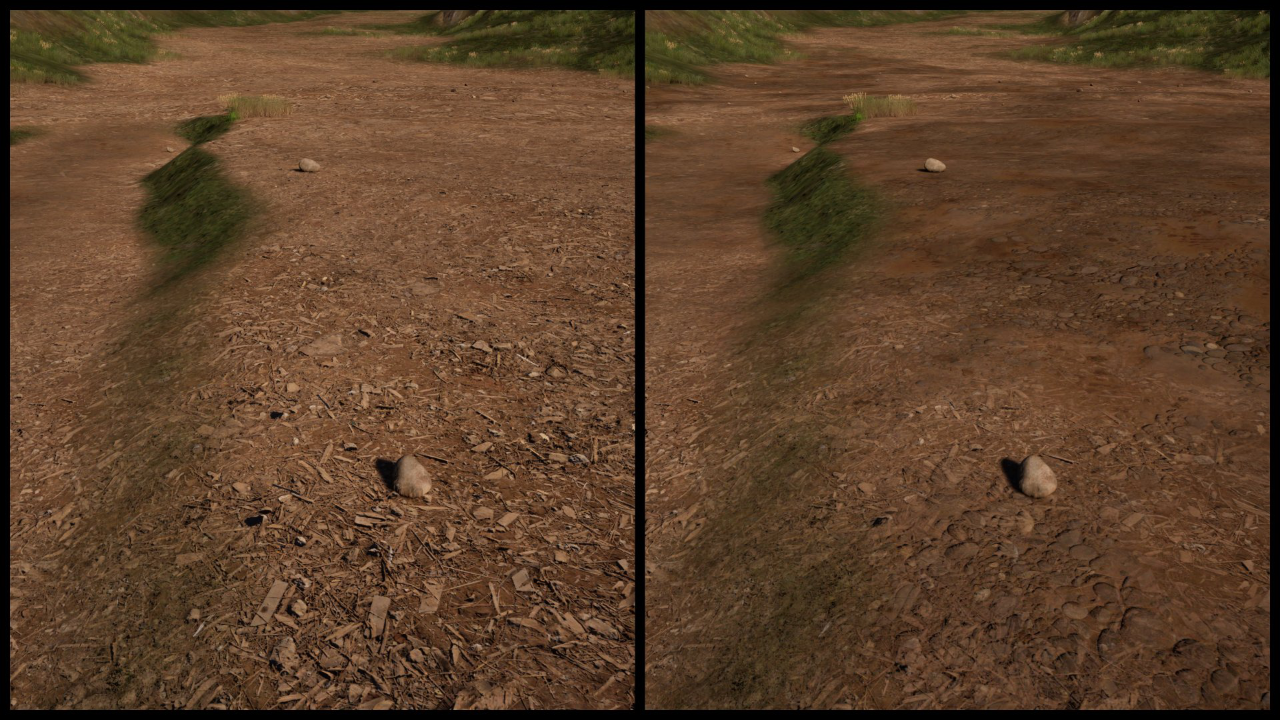
Additional texture variation was added to the ground material by way of a noise map used to mix between two different materials.
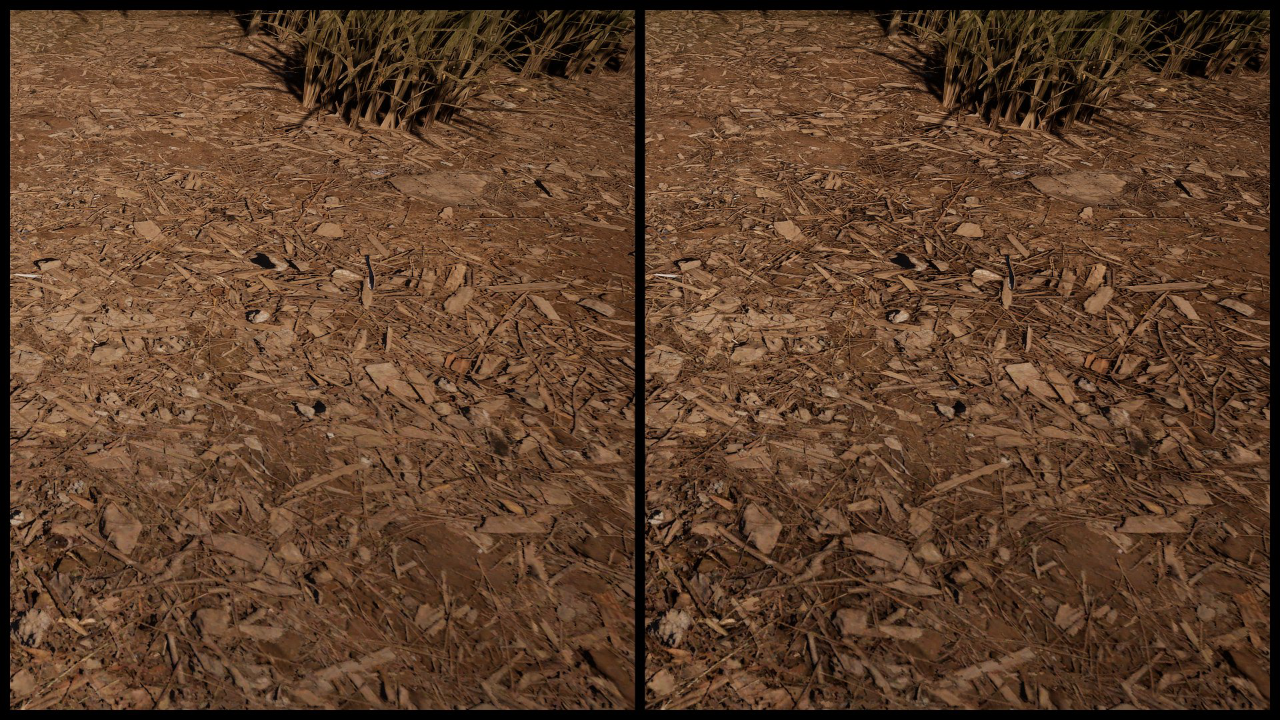
Ambient occlusion was also added to the ground material, which helps give a better sense of depth.
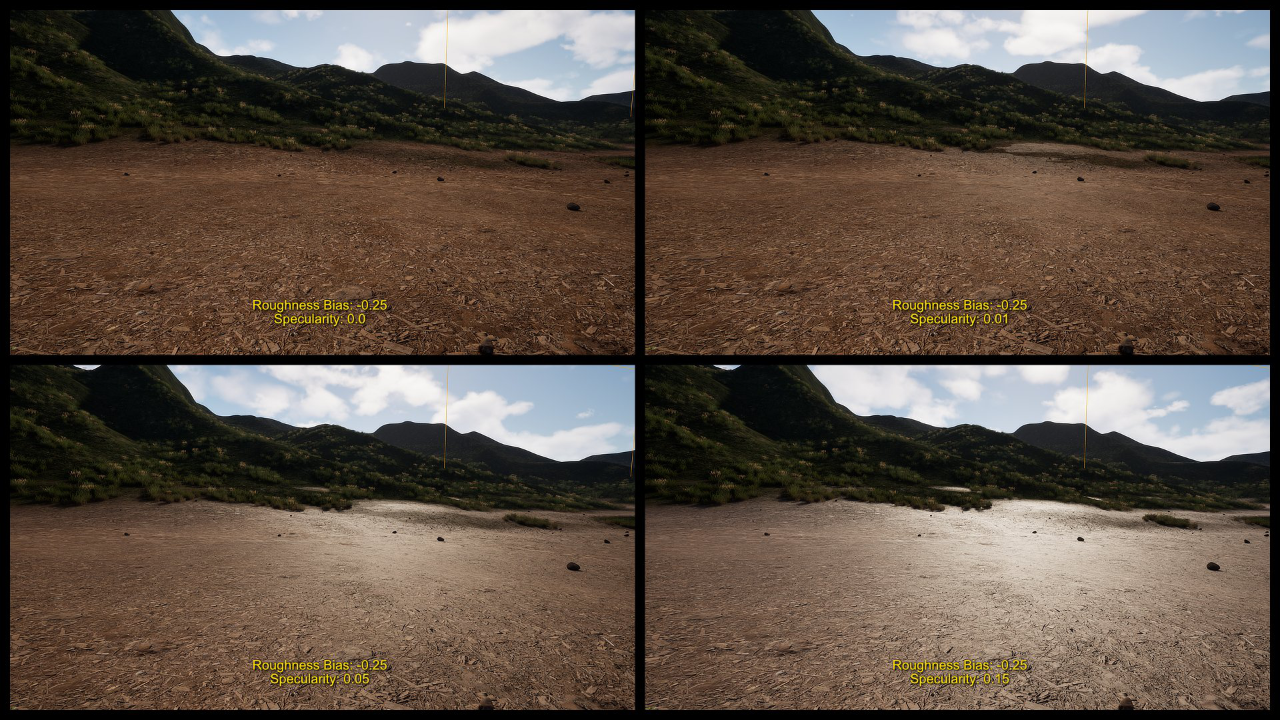
Finally, a ground roughness texture was used in combination with a constant specularity setting to create a sense of wetness for the ground material. Only small values of specularity were are required before the ground begins to appear completely saturated.